With the winter season amongst us, knowing how to load a hoodie onto your RICOH DTG printer is essential. Loading a hoodie incorrectly can cause many issues with your print. You may have issues with the alignment or issues with dot gain, along with a few other issues. Today, we will show you some easy-to-follow steps on how to get a hoodie loaded on your DTG printer correctly, so your prints look amazing.
How to load a hoodie on your RICOH DTG printer:

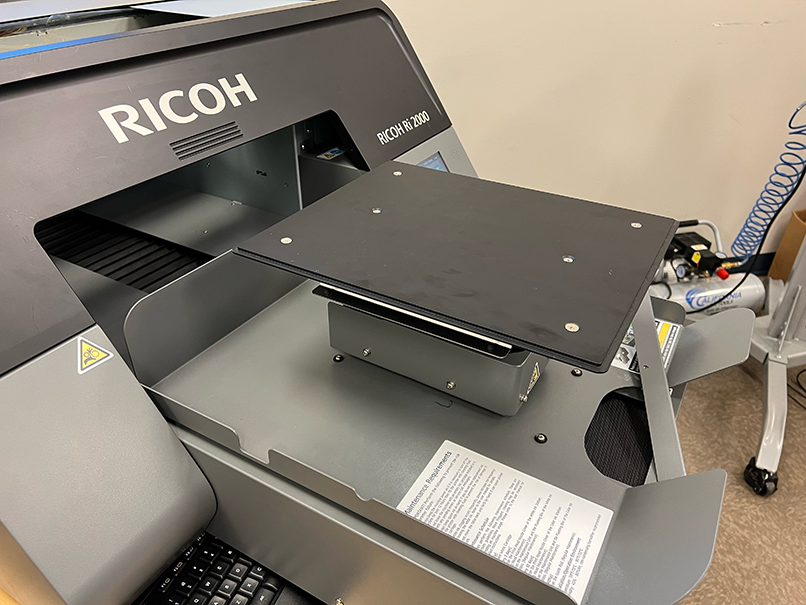
If you are working with hoodie sizes of large, medium, or small, you will want to use the small platen. For XL and higher, you will want to use the medium platen. For this tutorial, we will use a large hoodie. In the above image, we have the small platen on our RICOH DTG printer.
The reason you want to use a smaller platen than normal is to make sure the pocket of the hoodie falls off of the platen. You do not want the pocket to be on the platen as this will cause dot gain from the platen being further away from the print head. With the pocket off of the platen, this allows you to get closer to the garment to get a much better print.
There are two ways to use the platen to print on the hoodies. We will show you how to load the hoodie each way.
Normal Method:
The first method is how to print an image from top to bottom. You may have an image that is taller than wider. Use this method to make sure you maximize your printing area.
1. Lay the hoodie onto the small platen just like you would any other garment. With the top of the garment facing you.
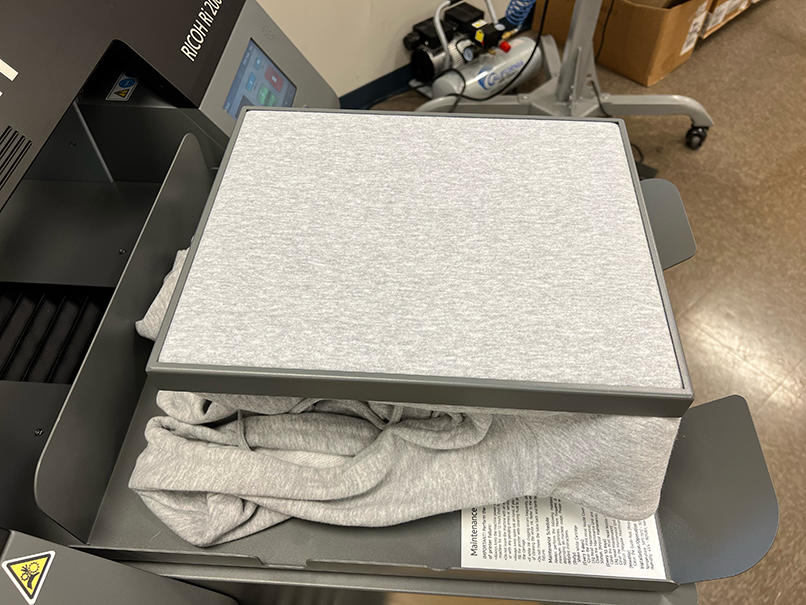
2. Align the hoodie where the pocket’s top seem is just at the edge of the platen as shown in the image below.
3. Align the hoodie left and right by using the feel method to make sure it is centered.

4. Place the ring over the garment and platen to secure the hoodie in place.

5. You are now ready to print.
Side Method:
The second method is how to print an image from side to side. You may have an image that is wider than taller. Use this method to make sure you maximize your printing area.
1. Lay the hoodie onto the small platen with the hood of the hoodie hanging off the left side of the platen.
2. Align the hoodie where the pocket’s top seem is just at the edge of the platen to make sure you are aligned.

3. Carefully slide the hoodie’s pocket off the platen to get the print area closer to the hood. Try to be about 1.5-2 inches down from the hood.

4. Align the hoodie left and right by using the feel method to make sure it is centered.
5. Place the ring over the garment and platen to secure the hoodie in place.

6. You are now ready to print.
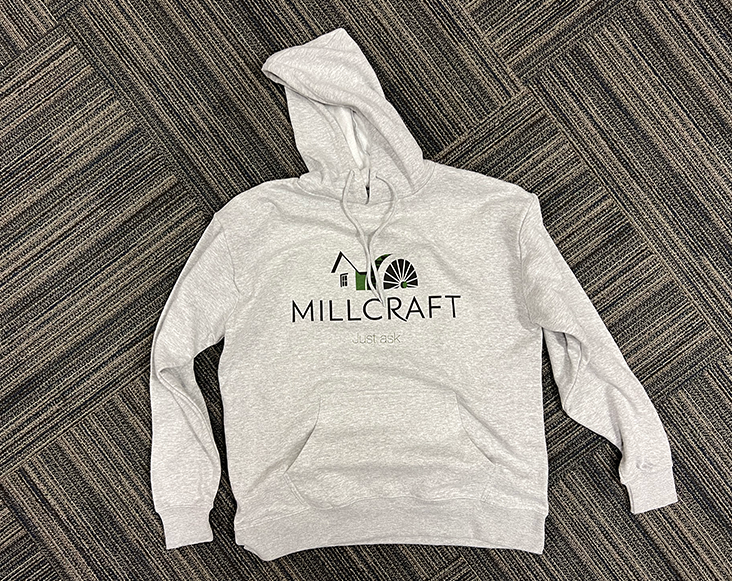
Below is a printed hoodie using the side method. As you can see, the image is wider than taller. Loading the hoodie sideways allows the image to print larger to take up more space left to right.

Below is an image showing the printable area that a hoodie can have using the small platen. The medium platen would be too large and cause the pocket to be in the way.

Millcraft’s DTG Solutions is here to help you excel in the Direct to Garment market. If you need any further assistance with how to load a hoodie or anything else, please fill out a ticket to contact us.

